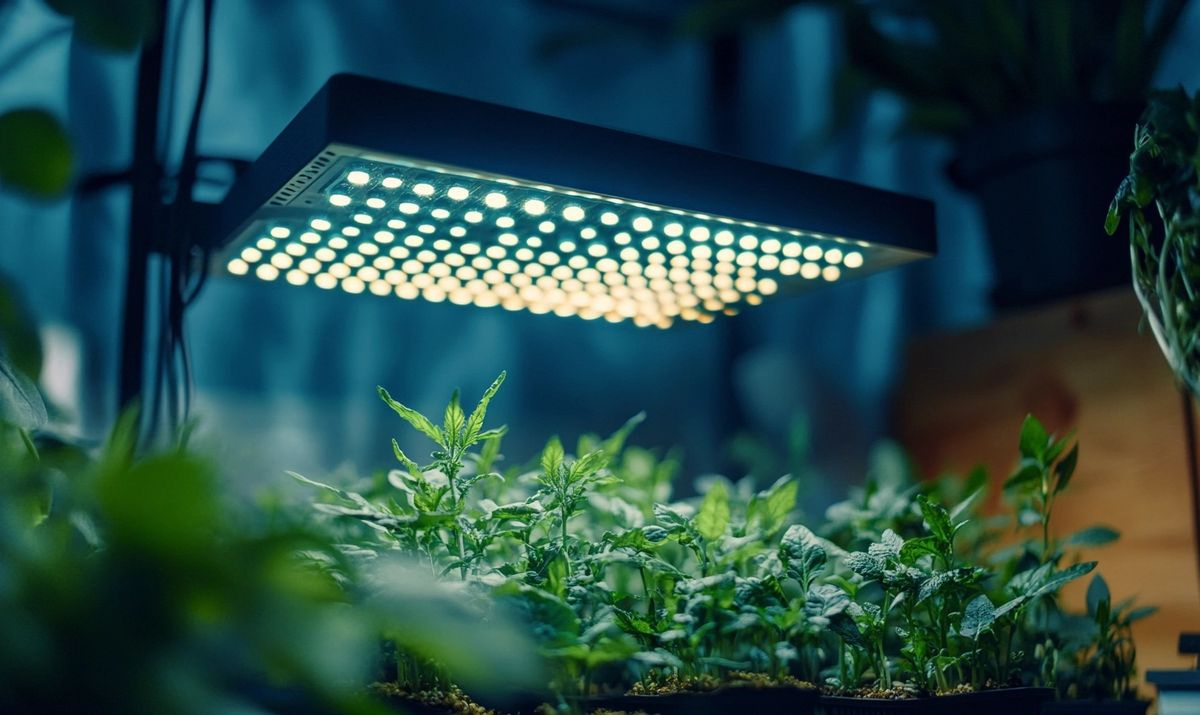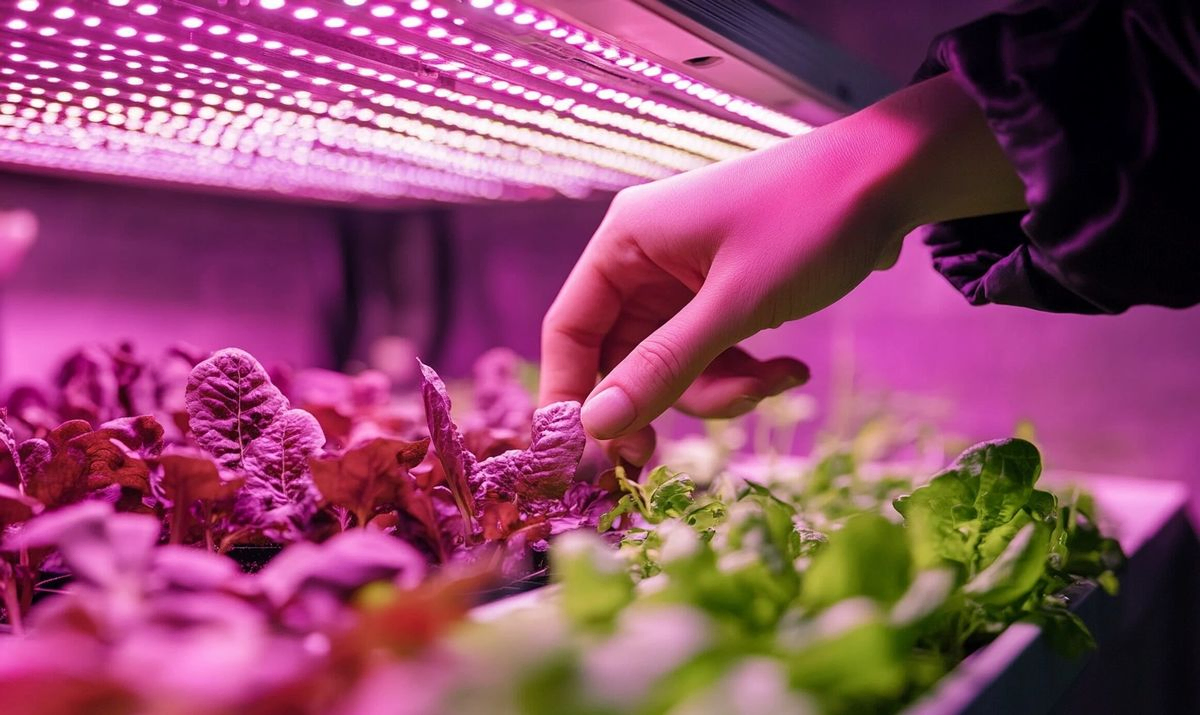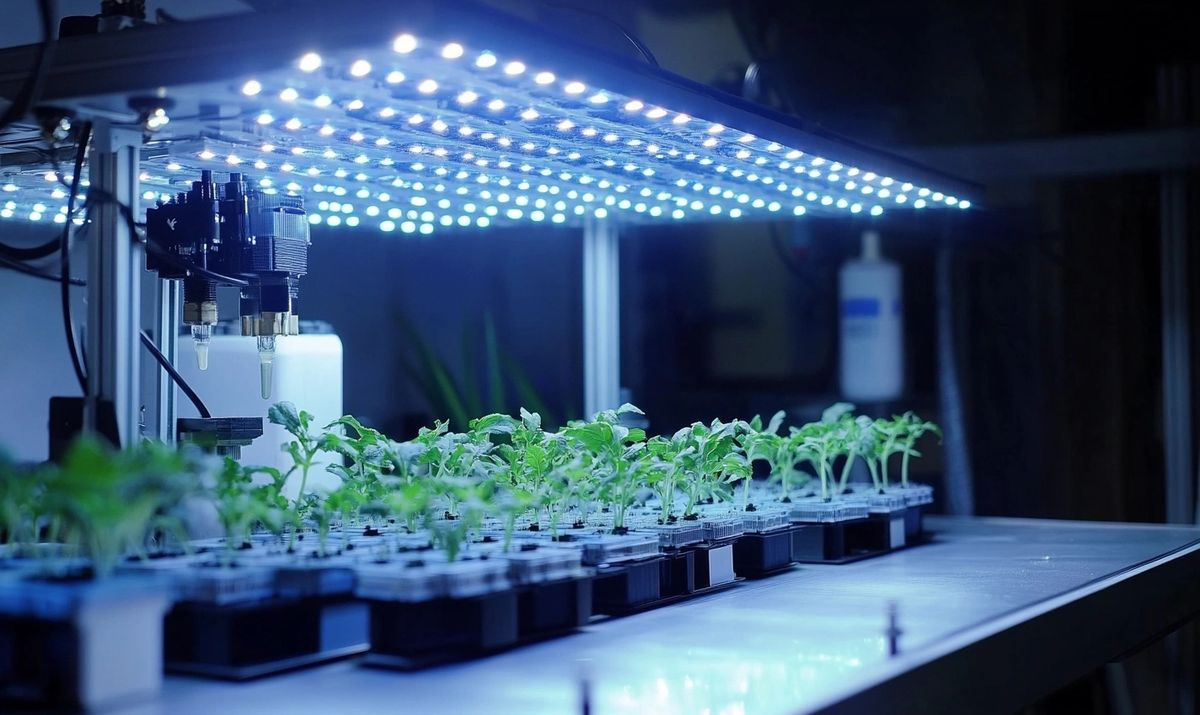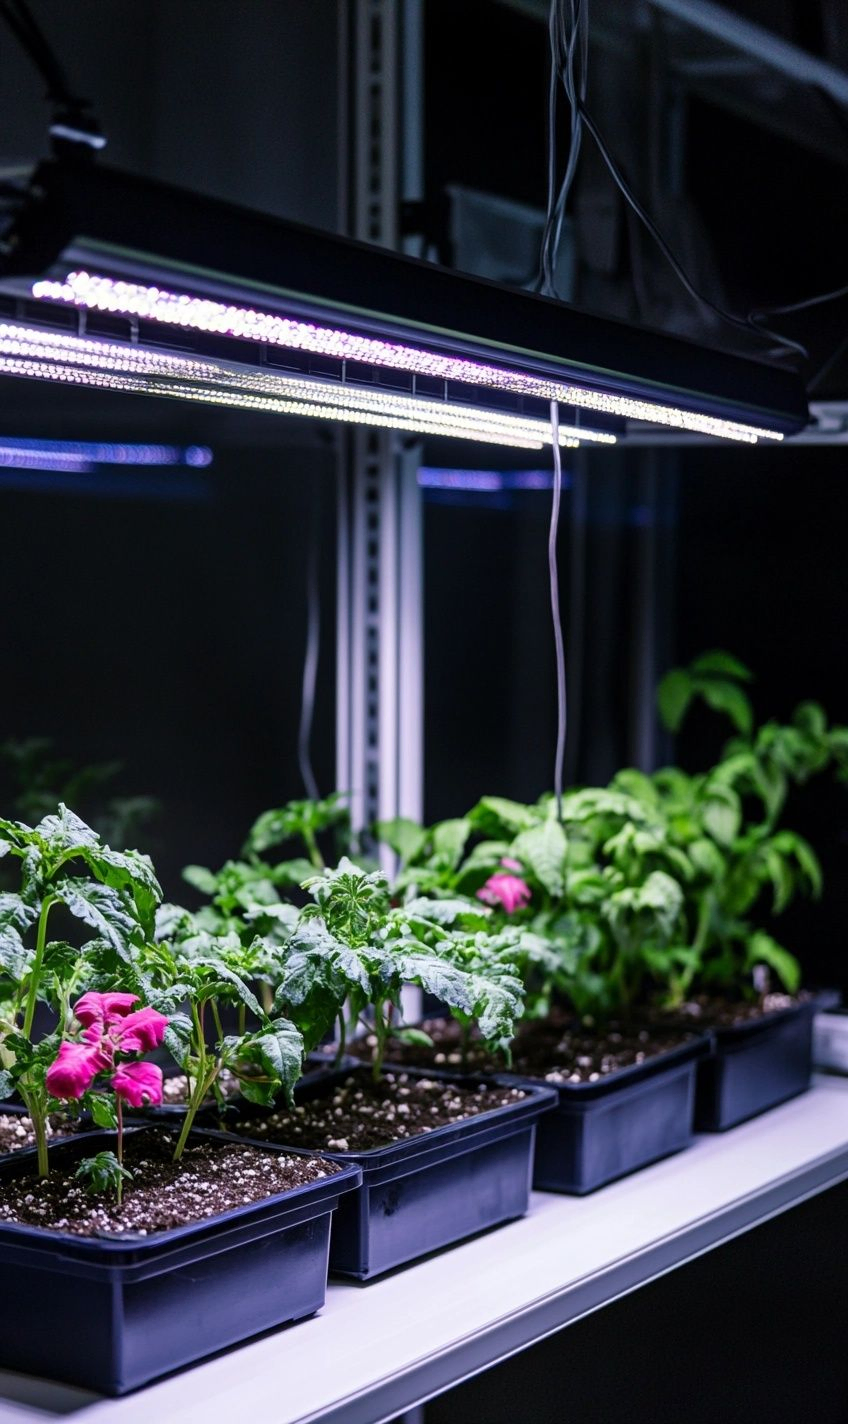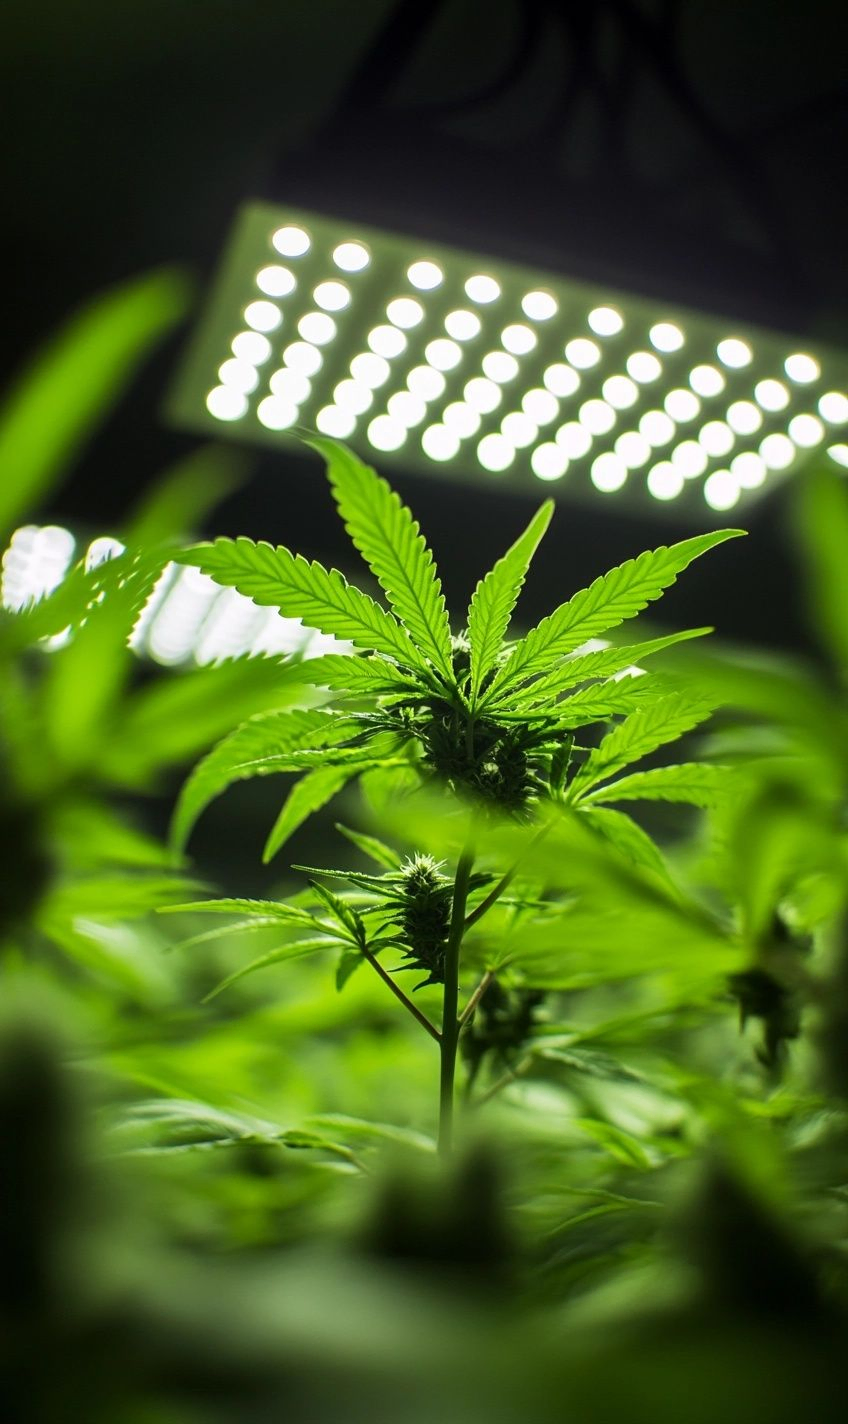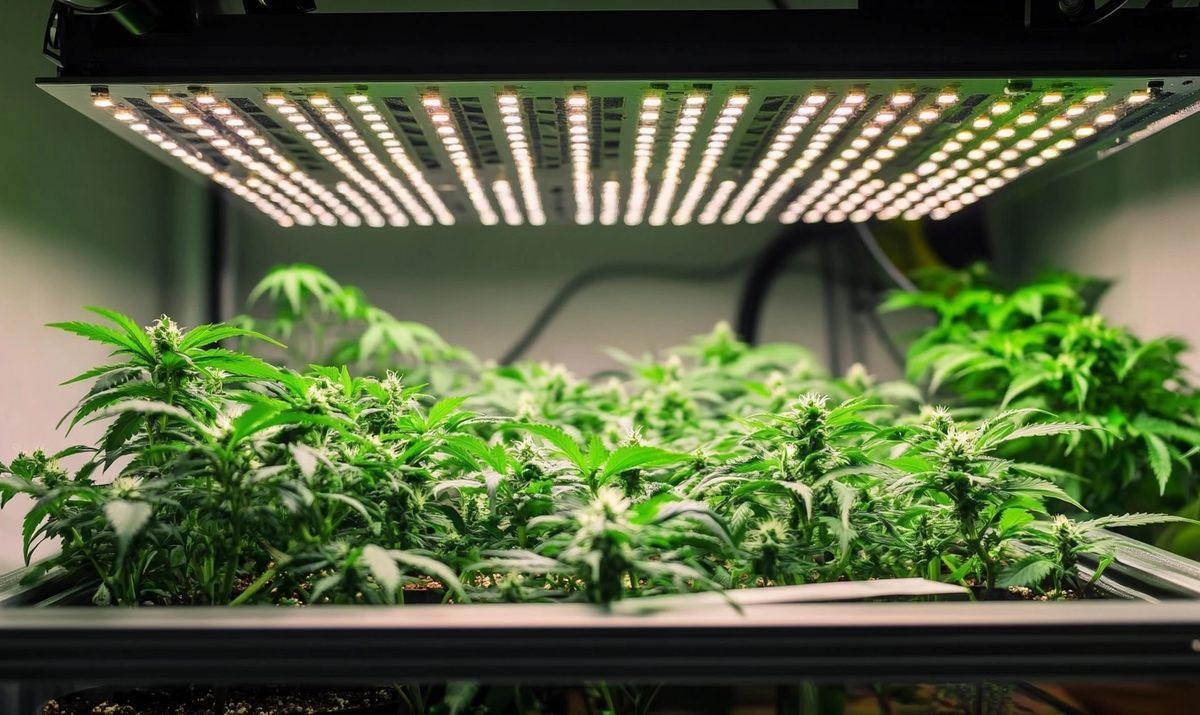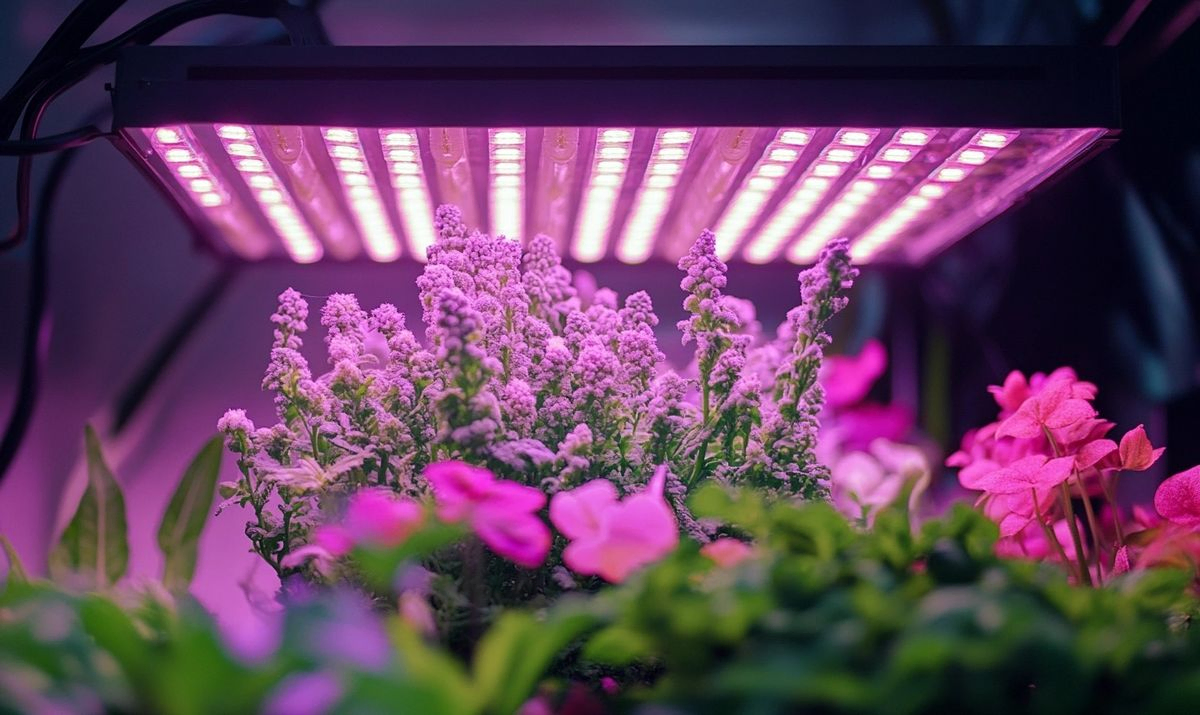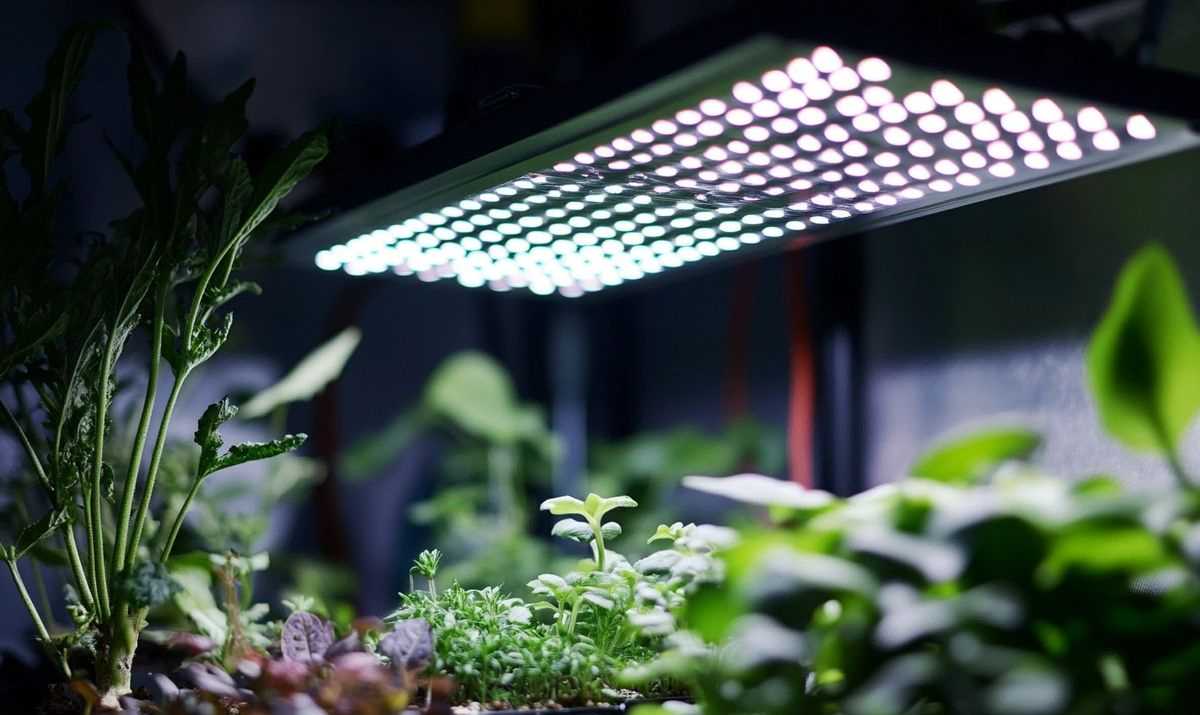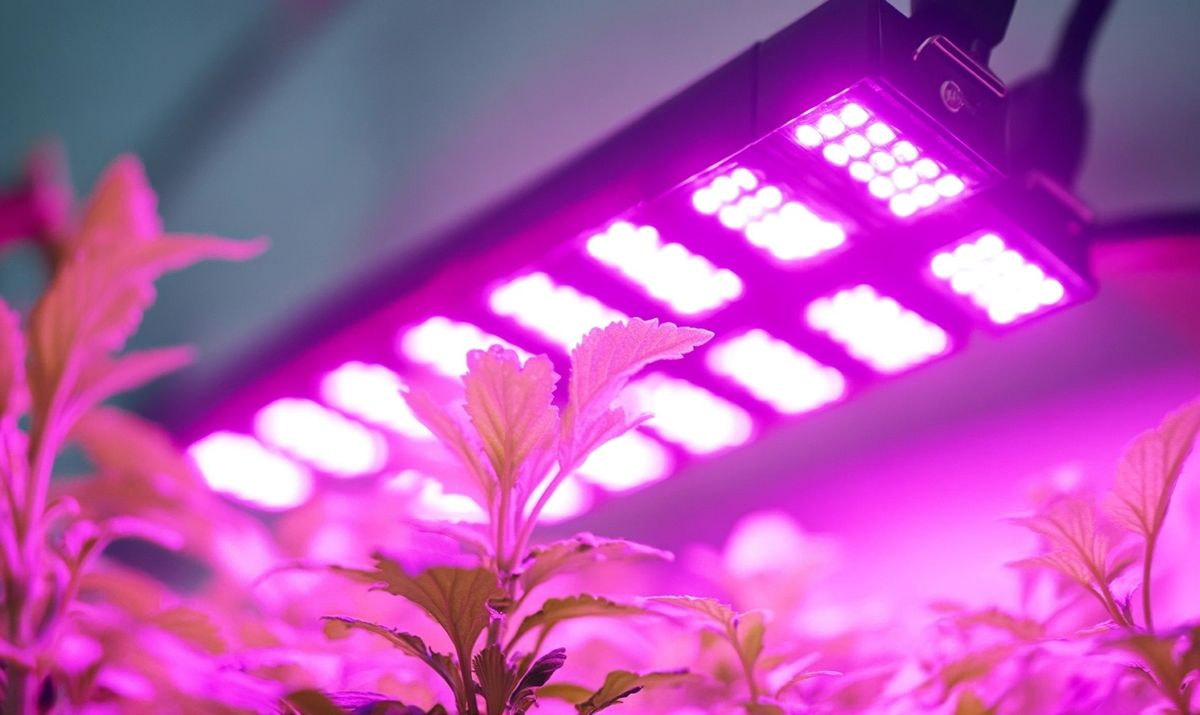
Are you ready to elevate your indoor gardening game? Understanding how to mount LED grow lights is crucial for bringing your plants to life and maximizing their growth potential. With the proper knowledge, you can create the ideal environment that mimics natural sunlight, helping your plants thrive regardless of the season.
LED grow lights have revolutionized the way we approach indoor cultivation. They are energy-efficient, customizable, and provide light spectra that cater specifically to the needs of various plants. But simply having a high-quality LED grow light isn’t enough; the correct mounting position and setup can make all the difference in how effective your lighting proves to be.
In this comprehensive, step-by-step guide, we will walk you through everything you need to know about installing your LED grow light. From choosing the correct mounting height to ensuring proper light distribution, we’ll cover all aspects to help you achieve optimum results. Whether you’re a seasoned gardener or a complete novice, this guide will provide the tools and confidence to successfully mount your LED grow light.
Understanding the Importance of Proper Mounting for LED Grow Lights
Have you ever wondered why your plants aren’t thriving, even with a good LED grow light? It might boil down to how you’ve mounted it. Proper positioning is vital for getting the best out of these lights. Think about it: if you were sitting under a lamp that was too high or too low, wouldn’t that be uncomfortable? Your plants feel the same way.
Why Does Height Matter?
The height of your LED grow light can significantly affect how much light your plants receive. Too high up, and they may not get enough light. Too low, and they risk burning. It’s like trying to eat a pizza while holding it out of reach. You’d end up frustrated, right? So, let’s get it right!
Benefits of Proper Mounting
- Increases Yield: Properly mounted lights can lead to bigger and healthier plants.
- Energy Efficiency: The right height means less wasted energy.
- Improved Growth Rate: Your plants will grow faster when they get the right intensity.
Placement Angle and Direction
It’s not just about height; the angle can make a difference, too. A slight tilt towards the plants can increase light exposure. Think of it as sunbathing with the perfect angle for those summer rays. You wouldn’t just lie flat, would you? Adjust that angle to let your plants soak up all the goodness!
Common Tips to Remember
Here are some quick reminders when setting up:
- Start at a reasonable height, usually about 24 inches.
- Adjust based on how your plants respond; watch for any stress signs.
- Use your hands to measure the heat—if it’s too hot for you, it’s too hot for your plants!
In the end, properly mounting LED grow lights is essential for your indoor garden. You’re not just putting a light in place but creating a nurturing environment that encourages those green babies to flourish. It’s all about finding that sweet spot where everyone feels just right.
Essential Tools and Materials Needed to Mount LED Grow Light
Gather Your Essentials
Before you start indoor gardening, discuss the necessary tools and materials. Think of these items as your trusty sidekicks; they make the entire process smoother and more efficient. Are you ready? Let’s dive in!
A Solid Plan
First, you’ll need a good plan. Visualize where you want to hang your LED grow light. Consider the light’s coverage and the types of plants you’re growing. A little planning can save you a ton of headaches later.
Must-Have Tools
Now, let’s check off what you’ll need:
- Drill: A must for making those necessary holes.
- Screws and Anchors: Ensure your light hangs securely—no one wants it crashing down!
- Measuring Tape: Measure twice, hang once—it’s a golden rule!
- Level: Keep things straight. A tiny tilt could affect how well your plants thrive.
- Wrench or Screwdriver: Depending on your light design, you might need these tools to secure your light.
Materials That Matter
But don’t forget your mounting materials. You’ll need:
- Mounting Brackets: These will hold your grow light in place.
- Reflectors (Optional): If you want to maximize the light distribution.
- Cables or Chains: To adjust the height of your light.
- Power Strip: This is for easy access to power without messing up your space.
Lighting Choices
Think about the type of LED grow light you’re installing. Some come with hanging kits, while others might require more creativity. Make sure to read the instructions that come with your light!
So, why not set everything out like puzzle pieces? Once your tools and materials are ready, you’ll feel like a pro ready to take on any challenge. Ready for the next step? You’re just a few choices away from a thriving indoor garden!
Step-by-Step Instructions on How to Mount LED Grow Light
Gather Your Tools
Before mounting your LED grow light, let’s ensure we have everything at our fingertips. Here’s an excellent little checklist to keep you organized:
- Drill
- Screws
- Stud finder
- Measuring tape
- Level
- Adjustable hangers or chains (if needed)
Choose Your Spot Wisely
Now that your gear is ready pick an ideal spot for your light. You want it close to your plants but not too close—think of it as keeping a watchful eye without breathing down their necks!
Measure and Mark
Grab that measuring tape, and let’s get down to business. Measure the desired height from your plants to where the light will hang. Use your stud finder to mark where you’ll drill the holes. This way, you won’t hang your light from a flimsy drywall. Knowing your anchor points is crucial—no one likes a light sagging low or hanging by a thread, right?
Drill and Secure
It’s drill time! Carefully drill holes at your marked spots. Then, insert your screws, leaving them protruding slightly. If you’re using adjustable hangers or chains, attach them to the screws. Make sure it’s sturdy! Picture your plants reaching up, stretching toward that light of life. You want to give them the best shot at thriving.
Hang the Light
Alright, here comes the fun part. Lift your LED grow light and hang it on the secured hardware. Remember that level you grabbed earlier? Use it! You wouldn’t want your light hanging at an awkward angle. It’s like a crooked painting on the wall; it just doesn’t feel right.
Test It Out
Now, plug it in and turn it on. Is everything working smoothly? Check the balance and adjust the height as needed. You want your plants to bask in that delicious light. If it looks good, you’re golden!
Final Touches
Give the area a quick tidy-up. Ensure your cords are organized and secured. You don’t want them tripping you up during your routine plant checks. Now that your LED grow light is mounted, you’re officially heading to a greenery oasis in your home!
Best Height and Distance Guidelines for LED Grow Light Placement
Finding the Sweet Spot
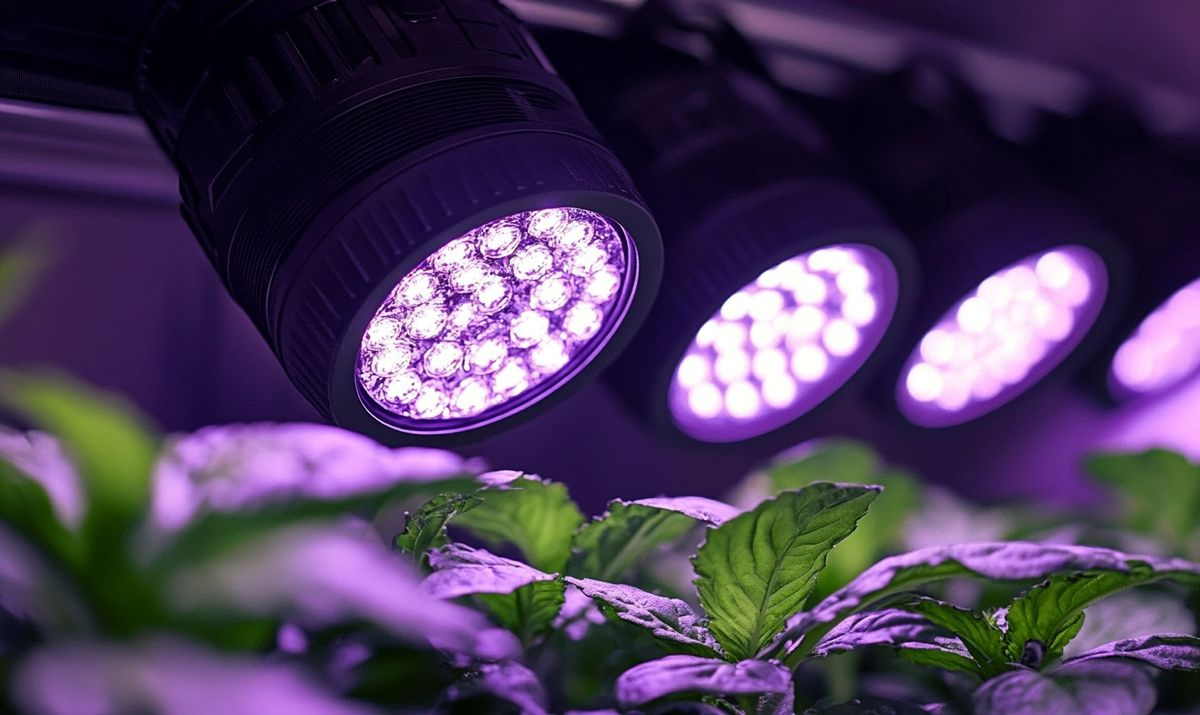
When setting up your LED, growing light, height, and distance matter immensely. You wouldn’t want to sit too close to a movie screen or far from the action. The goal is to find that perfect balance that lets your plants soak up the light like a warm hug.
General Guidelines to Follow
So, how high should your LED grow light be? Well, it usually depends on what stage your plants are in:
- Seedlings: Mount your lights about 24-36 inches above the plants.
- Vegetative Stage: Lower them to roughly 18-24 inches.
- Flowering Stage: Aim for a height of 12-18 inches.
These distances can vary based on your specific LED grow light. Always check the manufacturer’s recommendations to avoid burning your little green friends.
Light Spread and Measurement
Distance isn’t just about height. It would be best if you also thought about how the light spreads. Imagine how sunlight hits the ground; it’s not even everywhere. The wattage of your LED grow light plays a role here. Higher wattage means a more robust light spread. Measure the area where your plants are by:
- Checking the lumen output.
- Noting the coverage area of the grow light.
Remember, if your light is too far away, your plants might stretch toward it, looking for more warmth and energy. It’s like when you lean closer to hear your favorite tune; you want to absorb more goodness!
Watch for Signs
Don’t forget to keep an eye on your plants. They’ll let you know how they feel about the light placement. Are the leaves turning yellow? It might be too strong. Are they stretching excessively? The light could be too far away. Plants are great at communicating—they’re just not very chatty about it!
As you navigate your LED grow light setup, remember that every plant is unique. Listen to what they are telling you through growth patterns and responses. After all, maintaining a successful indoor garden isn’t just a science; it’s an art! 🌱
Common Mistakes to Avoid When Mounting LED Grow Lights
Ignoring the Manufacturer’s Recommendations
Have you ever tried to bake a cake without following the recipe? Not fun, right? The same goes for mounting your LED grow lights. Most manufacturers provide specific guidelines. Ignoring those can lead to inadequate light coverage or excess heat. You don’t want your plants to suffer, do you?
Overlooking Light Placement
Have you ever thought about how the sun moves across the sky? Just like that, your lighting needs proper placement! Many folks mount their lights too high or too low. Too high, and plants won’t get enough light. Too low, and you risk burning those delicate leaves. Aim for a balanced distance.
Failure to Adjust for Plant Growth
Plants aren’t stationary; they grow! And guess what? Your LED grow lights should adapt to this growth. Make sure you’re not setting and forgetting. As your plants stretch upwards, raise those lights accordingly. Otherwise, you might end up with a sad and droopy plant.
Neglecting to Check for Heat Build-up
Picture this: you’re chilling at home, and suddenly, it gets too hot. Not ideal, suitable? Your plants feel the same way! Failing to monitor heat levels can be detrimental. LEDs do emit some heat, so always check to prevent overheating. A little airflow can make a huge difference.
Mishandling the Wiring
Let’s talk about wiring. For many, this is like threading a needle. Make sure your wires are neatly tucked away and aren’t hanging loosely. Use cable ties if needed! Loose wires aren’t just unsightly; they can be a fire hazard. Safety first!
Forgetting About Spectral Needs
Plants are picky; they have specific light preferences. Using only one spectrum may seem like it’s enough. However, consider this: Different growth stages need different light spectra. That’s like giving a toddler just apples and expecting them to thrive! Go for a full-spectrum LED light if possible.
Not Evaluating Plant Response
Do you keep an eye on your plants? It’s like having a pet—monitor their reactions! A healthy plant should look vibrant and happy. If leaves are yellowing or stretching too far, it’s time to reassess your setup. Your plants are always trying to tell you something!
Password Reset: Learning from Mistakes
Everyone makes mistakes—it’s normal! But by watching these common pitfalls, you ensure a thriving garden. Don’t take shortcuts. Spend a little time getting it right, and you’ll reward yourself with lush, green growth.
Adjusting Your Setup for Optimal Plant Growth
So, you’ve successfully learned how to mount an LED grow light. But are your plants genuinely thriving? Optimizing your setup is just as crucial as the initial installation. It’s like fine-tuning a musical instrument; doing so can transform an austere sound into a symphony!
Examine Light Spectrum Needs
Different plants have different light needs. Some love the blues, which promote leafy growth, while others thrive under the reds, encouraging flowering. You wouldn’t wear winter clothes in summer. Similarly, adjust the spectrum of your LED grow light to match your plants’ preferences. This can significantly impact their growth rate and health.
Monitor the Temperature
Did you know that too much heat can be as damaging as low light? Regularly check the temperature of your grow area. The ideal range varies, but generally, it should be between 70°F and 85°F. Consider raising your grow light or adding an exhaust fan if things are steamy.
Adjusting the Height of Your Grow Light
The distance between your plants and the LED grow light is crucial. Here’s a quick guide:
- Seedlings: 24-36 inches away
- Vegetative stage: 18-24 inches away
- Flowering stage: 12-18 inches away
Are you feeling confused? Think of it like a hugging game; you don’t want to squish your plants by being too close, but you also want warmth and light—just the right balance!
Timing is Everything
When do you turn on the lights? Most plants do well with about 12-18 hours of sunlight daily. Set a timer to ensure consistency, just like you’d do with your morning alarm. And remember, some plants may need a rest period. Don’t overlook that!
Watch for Signs of Distress
Plants are like your friends—they show you when something’s wrong. Yellowing leaves? It might be too close or too far from the light. Stunted growth? That could be a sign they need more intensity. Keep an eye on those details, and always be ready to adjust.
The journey of indoor gardening shouldn’t feel stressful. Adjusting your setup can create a nurturing environment for your plants, helping them reach their full potential. Happy gardening!
Maintenance Tips for Your Mounted LED Grow Light
Keep it Clean!
Just like your favorite pair of shoes, your mounted LED grow light needs a little TLC. Dust and grime can block the light, making it less effective. So, grab a soft cloth and wipe down those fixtures regularly. A monthly cleaning can go a long way in keeping your plants happy and healthy!
Check for Proper Functioning
Does your light flicker or dim? Like a bad movie, you want to avoid any surprises! Regularly check your LED grow light for any flickering or unusual noises. This could mean it’s time to replace bulbs or check the connections. Ensuring everything works smoothly keeps your plants thriving!
Inspect for Heat Damage
High temperatures can be your plant’s worst enemy. And trust me, an overheated light can cause severe damage. Every few weeks, check if the area near the light feels too hot to the touch. If it does, you may need to adjust your setup or mount it higher to avoid burning your green friends.
Test and Adjust Height
Remember when you were a kid and had to adjust the height of your bike seat? It’s pretty much the same with your light! As your plants grow, they will need changes in light distance. Regularly assess if the light is still at the perfect height for your plant’s growth. Here’s a quick rule of thumb:
- Seedlings: 24-30 inches away
- Vegging: 18-24 inches away
- Flowering: 12-18 inches away
Keep an Eye on Your Plants
Plants are like open books; they tell you precisely what they need. Yellowing leaves? They might need more light. Stretched stems? Too far from the light source. Always watch for these signs so you can adjust your mounted LED grow light as required. It’s like reading their mind!
Don’t Ignore the Wiring
The wires are the veins of your grow light system. Check for frays, wear, or any signs of damage. It’s super important for safety reasons. If you see anything suspicious, replace it immediately. A little audit can save you big headaches later on!
Taking care of your mounted LED grow light isn’t rocket science. You can ensure your plants get the best light possible with simple checks and a little maintenance love!
Frequently Asked Questions About Mounting LED Grow Lights
What’s the best height to mount my LED grow light?
Ah, the golden question! Ideally, you want your LED to grow light about 24 to 36 inches above your plants. Think of it like giving your plants a sunny hug. Too close, and they might get burned; too far, and they won’t get enough light. It’s as simple as that!
How do I know if I’m mounting my light correctly?
Are your plants leaning toward the light? That’s a good sign! Also, check the color of your leaves. If they’re turning yellow, your light might be too intense. It’s all about balance. Imagine cooking; you don’t want to undercook or burn your meal.
Can I mount LED grow lights indoors?
Absolutely! Many indoor gardeners swear by it. Mounting your LEDs indoors allows for controlled growth all year round. Just remember to provide good ventilation. It’s like opening a window on a stuffy day; it keeps the air fresh!
What tools do I need to mount the light?
- Drill
- Screws and anchors
- Measuring tape
- Level
- Wire cutters (if needed)
These tools are like your gardening toolkit. Having the right ones can make a huge difference!
Can I adjust the height later on?
Yes! Flexibility is critical in plant care. As your plants grow, you can easily adjust the height of the light. Think of it as the growth spurts we all go through. Just like putting your kid’s toys on higher shelves as they get taller!
Do I need to mount multiple lights?
It depends on your growing area! More lights can provide better coverage if you’re using a larger space. It’s like having a group of friends to help you move; the more hands, the lighter the load! Just ensure they’re evenly spaced for the best results.
Is it safe to mount LED lights?
Totally! Just make sure you follow the instructions for the lights. Mounting your lights is like hanging a picture frame. If you do it right, it’ll look great and stay up!
If you have more questions, don’t hesitate to ask! Your plants will thank you for taking the time to get it right!
Conclusion
In conclusion, knowing how to mount LED grow lights correctly is essential for maximizing your indoor gardening success. Following the step-by-step guide outlined above, you can ensure your plants receive the optimal light conditions they need to thrive. Whether you are a seasoned grower or a beginner, the proper mounting technique can make all the difference in promoting healthy growth and high yields.
Remember to consider factors such as the height, angle, and distance of your lights from the plants. Regularly check the growth of your plants and adjust the placement of your lights accordingly to meet their changing needs. Moreover, proper installation enhances the efficiency of your grow lights and extends their lifespan.
With the right approach to mounting your LED grow lights, you’ll cultivate a flourishing indoor garden that can bring you joy and sustenance. Please share any tips you’ve learned to inspire others in their indoor gardening endeavors. Happy growing!
Frequently Asked Questions (FAQs)
What is the best height for mounting an LED grow light?
The optimal height for mounting an LED grow light depends on the type of plants you are growing. For the best results, it is generally recommended to mount the light 12 to 24 inches above the canopy of your plants.
How to mount an LED grow light in a small space?
Use adjustable mounting brackets or hanging chains in small spaces to quickly raise or lower the LED grow light. This flexibility helps accommodate plant growth without taking up excessive space.
Can LED grow lights be mounted to the ceiling?
Yes, LED grow lights can be mounted to the ceiling. Ensure they are securely fastened and positioned to provide adequate light coverage to your plants.
What tools do I need to mount an LED grow light?
Standard tools needed include a drill, screws, a level, and possibly a stud finder if mounting to a wall or ceiling. Always follow the manufacturer’s instructions for a secure installation.
Is it safe to mount LED grow lights indoors?
Yes, LED grow lights are safe for indoor use. However, they must be installed properly to prevent hazards. It’s also advisable to choose lights with a low heat output.
How do you adjust the height after mounting an LED grow light?
If you have mounted the LED grow light with adjustable chains or brackets, release the mechanism and slide the light to the desired height. You may need to remount it at the new height if it’s fixed.

